

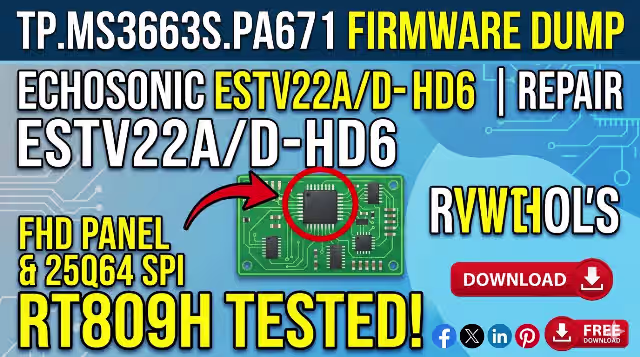
TP.MS3663S.PA671 Firmware Dump — Echosonic ESTV22A/D-HD6 Free Download
📋 Firmware Overview
This page provides a free download of the TP.MS3663S.PA671 firmware dump for the Echosonic ESTV22A/D-HD6 television. This file has been extracted, verified, and tested to resolve memory-related failures on this specific mainboard and model combination.
Use this dump file to correct any memory corruption, boot-loop failures, or software-related issues on the Echosonic ESTV22A/D-HD6. The file targets the 25Q64 SPI flash memory IC mounted on the TP.MS3663S.PA671 board.
🔧 Technical Specifications
| Main Board | TP.MS3663S.PA671 |
| TV Brand / Model | Echosonic ESTV22A/D-HD6 |
| Panel Type | FHD (Full HD — 1920×1080) |
| SPI Flash IC | 25Q64 (64 Mbit / 8 MB) |
| Programmer Method | RT809H Universal Programmer |
| File Type | Binary Dump (.bin) |
| Firmware Status | ✅ Tested — 100% Working |
| Date Verified | May 30, 2026 |
| Compatibility | Echosonic ESTV22A/D-HD6 Only |
| File Cost | Free Download |
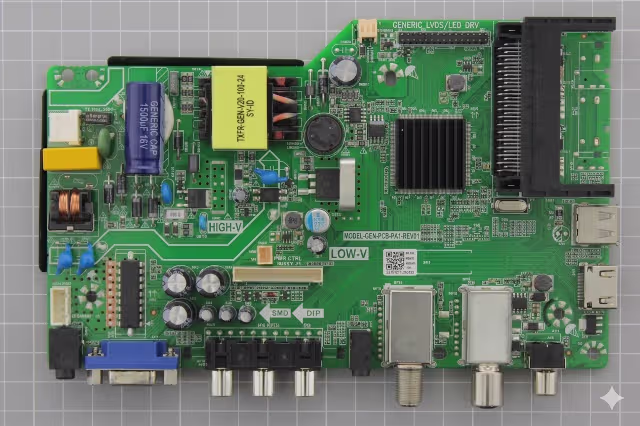
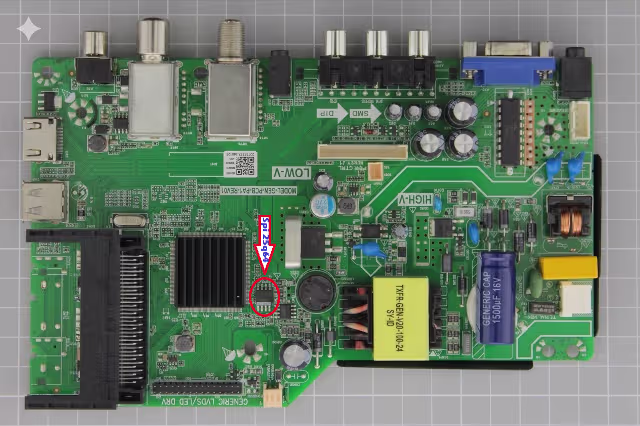
📸 Main Board & SPI Flash Images
Identify your board and SPI flash memory IC location using the reference images below before proceeding with the dump flash process.
⚠ Known Issues & Symptoms
This firmware dump resolves the following commonly reported issues on the Echosonic ESTV22A/D-HD6 with the TP.MS3663S.PA671 board:
- Stuck on Logo / Boot Loop — TV powers on but freezes on the Echosonic splash screen, then restarts continuously.
- No Boot / Black Screen with Backlight — Backlight turns on but no picture or OSD appears, indicating corrupted firmware in the SPI flash.
- Dead Set After Power Surge — Board does not respond after lightning or voltage fluctuation; standby LED may blink abnormally.
- OSD Menu Corruption / Garbled Display — On-screen display shows random characters, distorted menus, or missing language options.
- No Signal on All Inputs — HDMI, AV, and USB inputs report “No Signal” despite functional source devices connected.
- Audio Present but No Video — Sound plays normally but the screen remains black or shows vertical/horizontal lines.
- Automatic Shutdown / Random Restart — TV turns off after a few seconds or minutes of operation without user intervention.
- Channel Scan Failure — Tuner cannot find or store channels; digital tuner appears non-functional.
- Firmware Update Failure Recovery — TV bricked after an interrupted or failed USB firmware update attempt.
- Standby LED Blinking Pattern — Power LED blinks in a repeating sequence without the TV turning on fully.
🩺 Diagnostic & Repair Protocol
Follow this step-by-step protocol to diagnose the fault, prepare the hardware, and flash the firmware dump to the 25Q64 SPI memory on the TP.MS3663S.PA671 board.
Phase 1 — Pre-Diagnostic Inspection
- Visual Board Inspection: Disconnect the TV from AC power. Remove the back panel and visually inspect the TP.MS3663S.PA671 board for burnt components, swollen capacitors, cracked solder joints, or signs of liquid damage.
- Power Supply Verification: Using a multimeter, verify that the PSU outputs the correct voltages (typically 5V standby, 12V main) before connecting the mainboard. Replace the PSU if voltages are out of specification.
- SPI Flash IC Check: Locate the 25Q64 SPI flash IC on the board (refer to the image above). Ensure the IC is not physically damaged, and that all solder pins have continuity.
Phase 2 — SPI Flash Extraction & Backup
- Desolder the SPI IC: Using a hot-air rework station at 350°C with flux, carefully desolder the 25Q64 IC from the board. Clean residual solder from both the IC pads and board footprint.
- Mount on Programmer: Place the 25Q64 IC into the SOP8 adapter/clip connected to the RT809H programmer. Ensure correct pin-1 orientation.
- Backup Original Dump: Before writing new data, read the existing contents and save as a backup .bin file. This allows rollback if needed.
Phase 3 — Firmware Flashing
- Erase the IC: Perform a full erase of the 25Q64 chip using the RT809H software. Verify the erase operation completes without errors.
- Write the Firmware Dump: Load the downloaded TP.MS3663S.PA671 firmware .bin file (Echosonic ESTV22A/D-HD6) into the RT809H software. Click Write and wait for the process to finish.
- Verify the Write: After writing, use the Verify function to compare the IC contents against the source file. The verification must return 0 errors.
Phase 4 — Reassembly & Final Test
- Resolder the IC: Carefully solder the programmed 25Q64 back to the TP.MS3663S.PA671 board. Inspect all 8 pins for proper connection and no bridges.
- Reconnect & Power On: Reconnect all ribbon cables, LVDS cable, and speaker connectors. Connect the PSU and power on the TV.
- Functional Verification: Confirm the TV boots to the home screen, navigates menus, receives channels, and all inputs (HDMI, AV, USB) function correctly. Test audio output and remote control responsiveness.
🎬 Video Tutorial
Watch the complete flashing procedure and board identification walkthrough in the video below:
⬇ Firmware Download
- Board: TP.MS3663S.PA671
- Model: Echosonic ESTV22A/D-HD6
- Panel: FHD (1920×1080)
- SPI Flash: 25Q64 (8 MB)
- Programmer: RT809H
- File verified — 100% working
- Free download — No password
Step 1: Click the button below to unlock the download link.
Step 2: Click again to access the firmware file.
🔒 Click to unlock download link
📤 Share This Firmware
Help fellow technicians — share this page:
🔗 Related Firmware Downloads
Browse more firmware dumps for similar mainboards:


