Overview
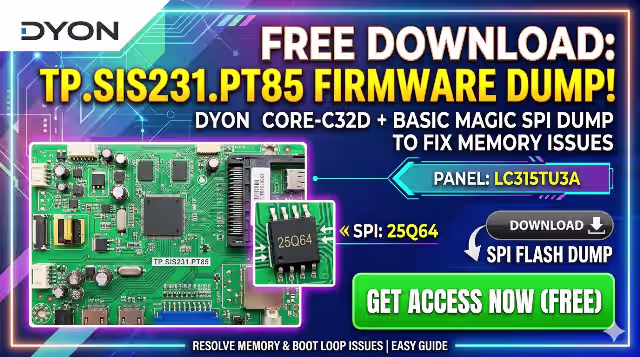
This page provides a verified and fully tested SPI firmware dump for the TP.SIS231.PT85 main board, used in the Dyon Core-C32D + Basic television model. The dump targets the 25Q64 SPI flash memory and is designed to resolve critical memory corruption issues that cause boot failure, no display output, and system instability.
The firmware file has been extracted, cleaned, and re-verified using the RT809H universal programmer. It is confirmed 100% functional on units equipped with the LC315TU3A panel configuration.
Hardware Specifications
| Parameter | Detail |
|---|---|
| Brand | Dyon |
| Model | Core-C32D + Basic |
| Main Board | TP.SIS231.PT85 |
| Panel | LC315TU3A |
| SPI Flash IC | 25Q64 (64Mbit / 8MB) |
| Programmer | RT809H |
| Dump Size | 8,388,608 bytes (8MB) |
| Status | Tested & Verified 100% Working |
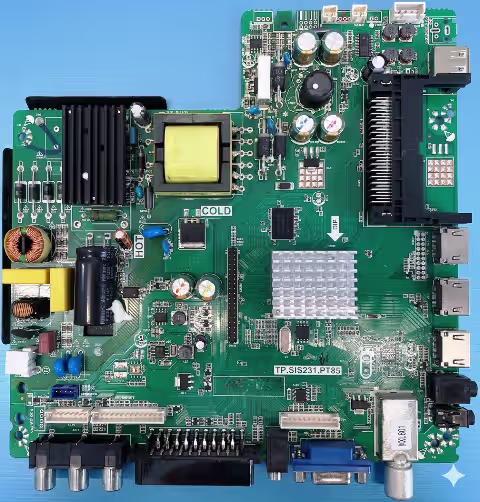
Main Board Reference
Click to zoom
SPI Flash IC Location
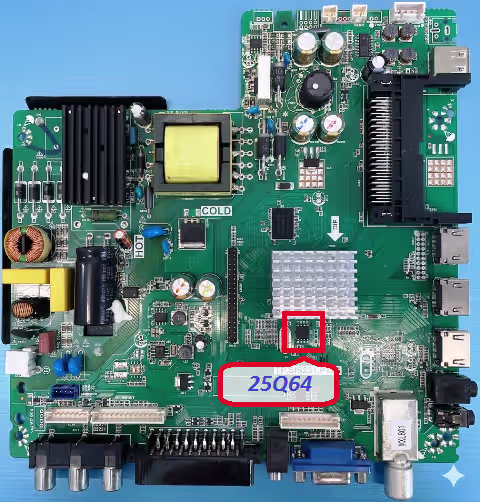 Click to zoom
Common Issues & Symptoms
The following faults are typically caused by SPI memory corruption or EEPROM data failure on the TP.SIS231.PT85 board. All listed issues are resolved by flashing the verified firmware dump provided below.
Diagnostic & Repair Protocol
Pre-Flash Hardware Checks
Before proceeding with the firmware flash, complete the following hardware verification to rule out physical component failure:
-
Visual Board Inspection Examine the TP.SIS231.PT85 PCB for burnt components, swollen capacitors, cracked solder joints, or corrosion damage. Pay attention to the power regulation section near the main IC.
-
Power Supply Verification Confirm standby voltage (5V STB) and main voltage rails (12V, 3.3V, 1.8V) are within tolerance. Use a multimeter on the power connector header pins.
-
SPI Flash IC Continuity Test Verify pin continuity between the 25Q64 IC and the main processor. Check VCC (pin 8 = 3.3V), GND (pin 4), and data lines (pins 1, 2, 5, 6) are not open or shorted.
-
Desolder SPI Flash IC Carefully remove the 25Q64 chip from the board using a hot-air rework station at 320-350 degrees Celsius. Clean pads with flux and solder wick.
-
Read Original Dump (Backup) Place the removed 25Q64 chip in the RT809H programmer ZIF socket or use a SOIC8 clip. Read the existing firmware and save as backup before writing new data.
-
Write Verified Firmware Load the downloaded TP.SIS231.PT85 firmware dump file into RT809H software. Select chip model 25Q64, erase the IC completely, then write the firmware. Verify checksum after writing.
-
Resolder and Test Resolder the 25Q64 IC back onto the board with proper pin 1 alignment. Reconnect panel LVDS cable, backlight connector, and power supply. Power on and verify normal boot sequence.
-
Post-Flash Configuration After successful boot, perform factory reset from the service menu. Re-scan channels, adjust picture settings for LC315TU3A panel, and verify all input sources (HDMI, AV, USB) are functional.
Video Tutorial
Download Firmware Dump
TP.SIS231.PT85 – SPI 25Q64 Dump File
Verified firmware for Dyon Core-C32D Basic | LC315TU3A Panel | RT809H Compatible
File format: BIN | Compatible with RT809H, TL866II Plus, CH341A programmers