Kenwood DNX5280BT Keeps Rebooting – Here’s The Fix! Firmware Dump Download
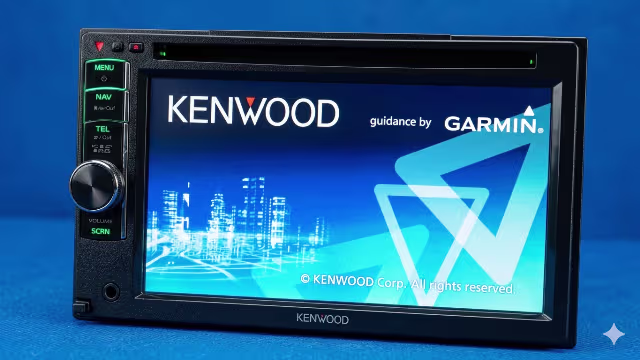
Is your Kenwood DNX5280BT stuck in a never-ending reboot loop? The unit powers on, shows the Kenwood splash screen, and then restarts over and over again. This is a well-documented hardware-level failure caused by corrupted NAND flash memory on the X88-2080-10 main board.
This professional repair guide provides the complete firmware dump file for the Hynix H27U2G8F2CTR NAND flash chip, along with detailed diagnostic and programming instructions using the RT809H universal programmer. This firmware has been tested and verified 100% working.
Device Specifications
| Brand | Kenwood |
|---|---|
| Model | DNX5280BT |
| Main Board | X88-2080-10 |
| NAND Flash | Hynix H27U2G8F2CTR |
| Memory Type | NAND Flash 2Gbit (256MB) |
| Programmer | RT809H Universal Programmer |
| Firmware Status | Tested 100% Working |
| File Format | SPI / BIN Dump |

Known Issues for Kenwood DNX5280BT
The following symptoms indicate NAND flash memory corruption on the Kenwood DNX5280BT with the X88-2080-10 main board. If your unit exhibits any of these problems, the firmware dump provided below is the solution.
- Unit stuck in continuous reboot loop at Kenwood logo screen
- System boots to black screen with backlight on but no interface
- Navigation system fails to load or crashes immediately
- Bluetooth module not initializing or pairing fails repeatedly
- Touchscreen completely unresponsive after boot
- Audio output cuts out intermittently or produces no sound
- DVD and CD drive not recognized by the system
- Settings reset to factory defaults after every power cycle
- Unit freezes randomly during normal operation
- USB and AUX input ports not detected
- Firmware update via USB fails or bricks the unit
- System clock resets and cannot retain time or date
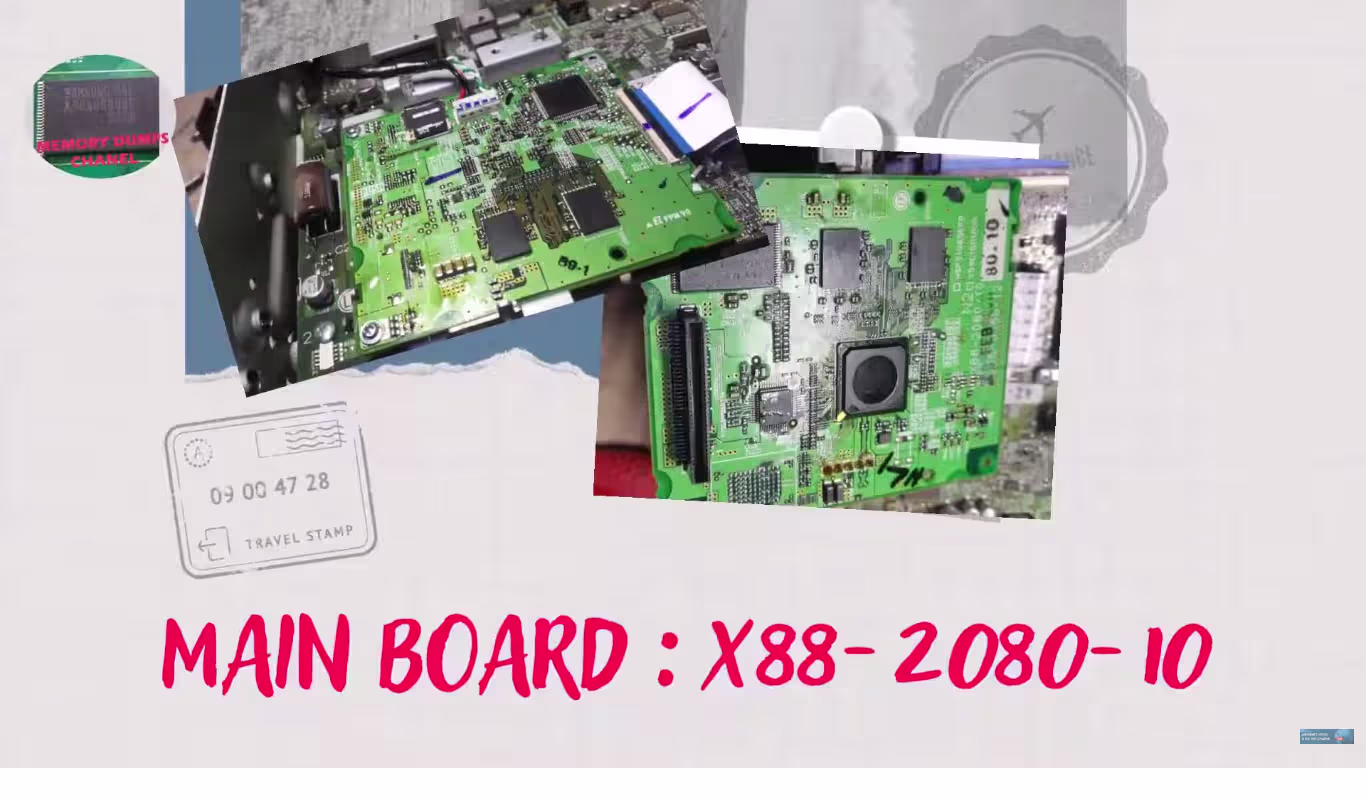
Main Board Identification – X88-2080-10
Before beginning any repair, you must confirm your main board matches the X88-2080-10 revision. Open the Kenwood DNX5280BT unit carefully and locate the board identification number printed on the PCB near the main processor area.
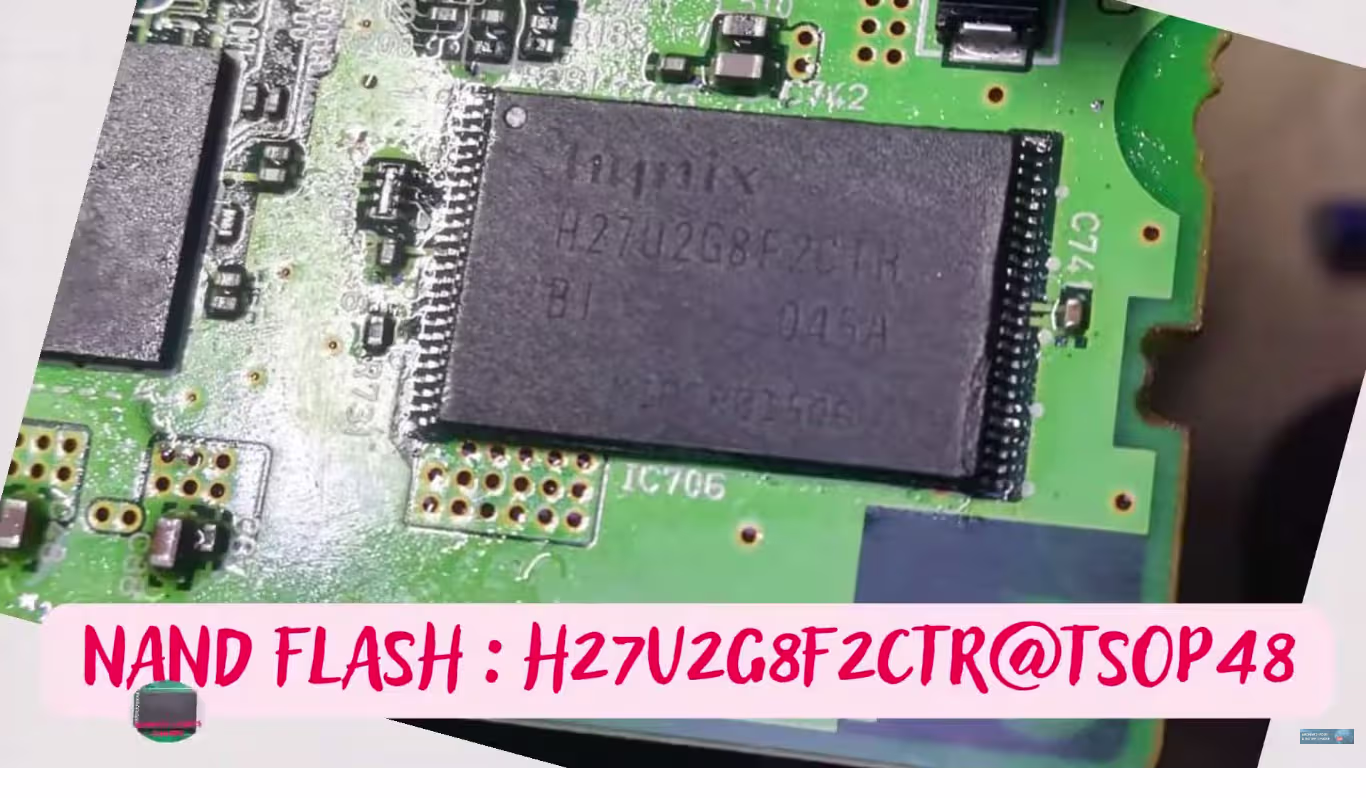
NAND Flash Chip – Hynix H27U2G8F2CTR
Diagnostic and Repair Protocol
Step 1 – Initial Diagnostic Assessment
Before disassembling the unit, perform these preliminary checks to confirm the issue is NAND-related rather than a power supply or other hardware failure.
- Power Supply Verification: Measure the 12V input at the main connector. Confirm stable voltage between 13.2V and 14.4V with the engine running. Fluctuating voltage can mimic NAND failure symptoms.
- Hard Reset Attempt: Disconnect the battery for 30 minutes, then reconnect. If the reboot loop persists, the issue is confirmed as firmware-level corruption.
- USB Recovery Test: Attempt a standard Kenwood USB firmware update. If the unit cannot recognize the USB drive or the update process fails to initiate, the NAND corruption is too severe for software-level recovery.
Step 2 – Disassembly and Board Extraction
- Remove the Kenwood DNX5280BT from the vehicle dash using proper DIN removal keys. Disconnect all wiring harnesses and antenna cables.
- Remove all exterior screws from the chassis. Carefully separate the top and bottom housing panels.
- Disconnect all ribbon cables and flex connectors from the main board. Document each connection with photographs for reassembly reference.
- Remove the X88-2080-10 main board mounting screws and extract the board from the chassis.
Step 3 – NAND Flash Extraction
- Locate the Hynix H27U2G8F2CTR NAND flash chip on the X88-2080-10 board. It is a TSOP-48 package typically positioned near the main SoC processor.
- Apply flux generously around all NAND pins. Using a hot air rework station set to 340-360 degrees Celsius with medium airflow, carefully desolder the chip.
- Clean all pads on both the PCB and the NAND chip using solder wick and isopropyl alcohol. Inspect under magnification for any damaged or lifted pads.
Step 4 – Programming with RT809H
- Insert the Hynix H27U2G8F2CTR chip into the RT809H programmer using the appropriate TSOP-48 adapter. Ensure correct pin 1 orientation.
- Launch the RT809H software on your PC. Select the chip model HYNIX > H27U2G8F2CTR from the device database.
- Perform a full chip erase operation first. Wait for the erase verification to complete successfully before proceeding.
- Load the downloaded firmware dump file. Click Write and allow the programming process to complete. Do not interrupt the power or USB connection during this operation.
- After writing, perform a Verify operation to compare the written data against the original dump file. The verification must show 100% match with zero errors.
Step 5 – Reassembly and Testing
- Resolder the programmed NAND chip back onto the X88-2080-10 board. Apply flux and use the hot air station at the same temperature settings. Verify all solder joints under magnification.
- Reassemble the main board into the chassis. Reconnect all ribbon cables and flex connectors according to your documentation photos.
- Connect the unit to a bench power supply (12V 3A minimum) before vehicle installation. Power on and verify the unit boots completely past the Kenwood splash screen to the main interface.
- Test all functions: touchscreen responsiveness, Bluetooth pairing, navigation loading, audio output through all channels, DVD/CD recognition, USB and AUX inputs, and FM/AM radio reception.
Video Repair Guide
Watch the complete step-by-step repair walkthrough for the Kenwood DNX5280BT rebooting fix. This video demonstrates the entire process from diagnosis through NAND reprogramming and final testing.
Download Firmware Dump
Kenwood DNX5280BT – X88-2080-10 Main Board
NAND: Hynix H27U2G8F2CTR – Programmer: RT809H
Click the button – a sponsor page opens in a new tab, then your download begins automatically.
Frequently Asked Questions
The Kenwood DNX5280BT rebooting loop is typically caused by corrupted NAND flash memory (Hynix H27U2G8F2CTR) on the X88-2080-10 main board. Power surges during operation, failed software updates, or natural flash memory degradation over time can cause critical firmware sectors to become unreadable, preventing the system from completing its boot sequence.
The RT809H universal programmer is required to read and write the NAND flash chip Hynix H27U2G8F2CTR. You will also need a compatible TSOP-48 adapter socket. Ensure the RT809H software is updated to the latest version for proper chip identification and reliable programming operations.
Yes, this firmware dump has been extracted from a fully functional Kenwood DNX5280BT unit with the X88-2080-10 main board and verified through multiple write-verify cycles. It has been successfully used to repair units with reboot loop, black screen, and navigation failure issues.
While other universal programmers such as the RT809F or TNM5000 may support the Hynix H27U2G8F2CTR chip, the RT809H is the recommended and tested programmer for this specific dump file. Using a different programmer may require adjustments to timing parameters and is not guaranteed to produce successful results.