20-ASEU173-13-OX Firmware Dump
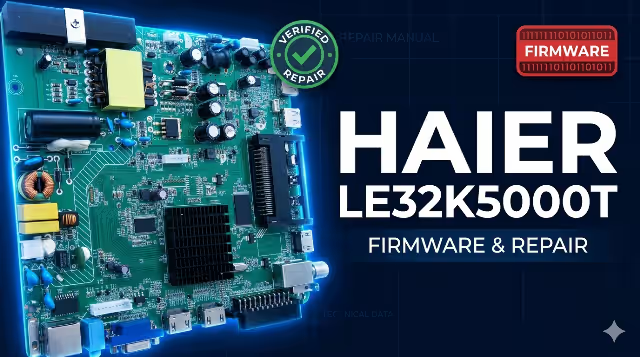
HAIER LE32K5000T
Get the 20-ASEU173-13-OX firmware for HAIER LE32K5000T TV via a simple USB update. This is a full memory dump, tested and verified 100% working by our technician team. Resolve boot loops, dead sets, black screens, and software corruption with a clean flash.
 20-ASEU173-13-OX
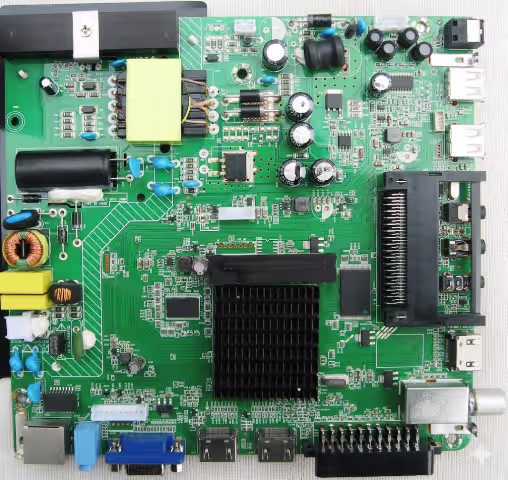
Verify the board number 20-ASEU173-13-OX printed on your main board before flashing. Using firmware for a different board will cause irreversible damage to the TV.
| TV Model | HAIER LE32K5000T |
| Board Number | 20-ASEU173-13-OX |
| Chassis | MStar Series |
| Screen Size | 32″ LED HD |
| Resolution | 1366 × 768 (HD Ready) |
| Firmware Type | Full Memory Dump (SPI Flash) |
| Update Method | USB Flash Drive |
| File Format | BIN (Compressed Archive) |
| Compatibility | LE32K5000T (All Revisions) |
| Status | ✓ Verified 100% |
Step A — Power Supply Verification
Before firmware repair, verify the power supply board outputs: 5V STB, 12V/24V main. If voltages are absent or out of tolerance, repair the PSU first. A faulty power supply can mimic firmware corruption symptoms.
Step B — Visual Inspection of Main Board
Inspect the 20-ASEU173-13-OX main board for burnt components, swollen capacitors, cracked solder joints, or damaged traces. Focus on the area around the SPI flash IC and power regulator circuits.
Step C — SPI Flash IC Identification
Locate the SPI flash memory chip on the main board (typically 25Q32 or 25Q64). Confirm the IC model matches the firmware dump file size. Mismatched IC size will cause flash failure.
Step D — USB Firmware Update (Preferred Method)
Use the USB update method described below. This is the safest approach and does not require desoldering the SPI flash IC. Ensure the USB drive is formatted as FAT32 and files are placed in the root directory.
Step E — Programmer Method (Advanced)
If USB method fails (TV completely dead), desolder the SPI flash IC and use a CH341A programmer with AsProgrammer or NeoProgrammer to write the dump directly. Re-solder with proper flux and temperature control (max 350°C).
Step F — Post-Flash Verification
After successful firmware update, perform a full factory reset via the service menu. Verify all functions: channel scan, HDMI inputs, USB playback, audio output, network connectivity, and remote control response.
Extract Firmware Files
Download and extract the firmware archive. All extracted files must be copied directly to the root of the USB flash drive — not inside any folder. Use a FAT32 formatted USB drive (8 GB max recommended).
Insert USB Drive — TV Must Be Off
Make sure the TV is completely powered off (unplug from wall outlet for 30 seconds). Insert the prepared USB flash drive into the USB port on the TV.
Power On & Wait
Plug the TV back in and power on. The TV will automatically detect the firmware on the USB and begin updating. Do not unplug or press any buttons during this process. The TV will power up by itself.
Verify Success
If the First Time Installation screen appears, the software update procedure is successful. Remove the USB drive immediately and proceed with the initial TV setup. Run a full channel scan and test all inputs.
⬇ Download Firmware
20-ASEU173-13-OX — HAIER LE32K5000T — Full Memory Dump