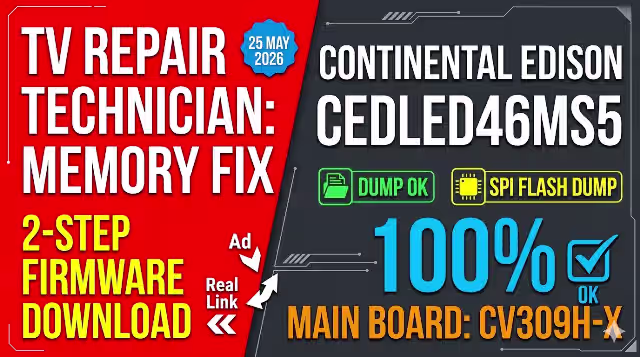
CV309H-X Firmware Dump – Continental Edison CEDLED46MS5 LSC460HN05
FOR TECHNICIAN USE ONLY – This firmware dump is intended for qualified TV repair technicians. Incorrect flashing may permanently damage the main board. Always create a backup before writing.
Firmware Overview
Get access to the free CV309H-X firmware dump for Continental Edison CEDLED46MS5 equipped with the LSC460HN05 panel. This memory dump file is designed to resolve all troubleshooting issues related to software and memory function failures. The firmware has been extracted via RT809H SPI programmer and verified 100% working on the target hardware configuration.
Main Board Reference
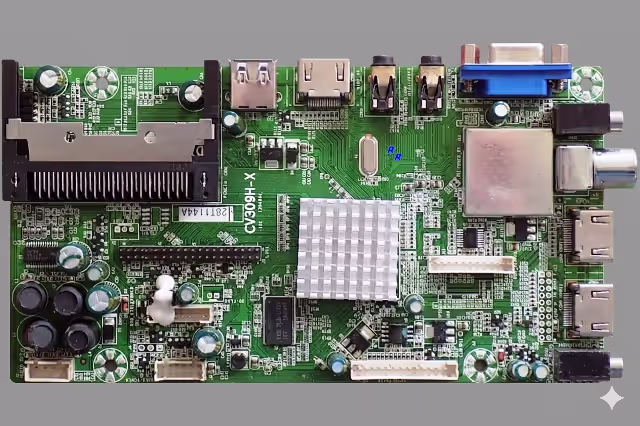
CV309H-X Main Board – Continental Edison CEDLED46MS5
SPI Flash Memory Location
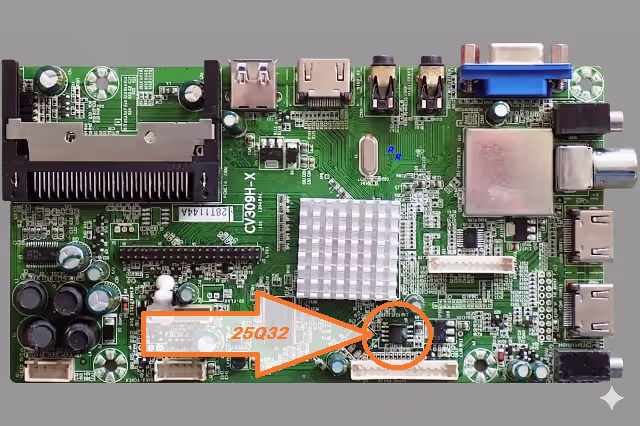
25Q32 SPI Flash IC Location on CV309H-X Board
Firmware Specifications
| Brand | Continental Edison |
| Model | CEDLED46MS5 |
| Main Board | CV309H-X |
| Panel | LSC460HN05 |
| SPI Flash IC | 25Q32 (32Mbit / 4MB) |
| Programmer | RT809H |
| Dump Method | SPI Direct Read |
| File Format | Binary (.bin) |
| Status | Tested 100% Working |
| Date | May 25, 2026 |
Known Issues Resolved by This Firmware
- Dead TV / No Power Response – TV does not turn on; standby LED remains off despite good power supply output.
- Stuck on Boot Logo – Continental Edison logo appears but the TV freezes and never reaches the home screen.
- Infinite Restart Loop – TV powers on briefly then reboots continuously without displaying any channel or menu.
- Backlight On, No Image – Screen illuminates with backlight but shows no picture, no OSD menu, and no sound.
- HDMI / AV Input Not Detected – All external input sources fail to be recognized or display signal.
- Corrupted EEPROM / SPI Data – Firmware data in 25Q32 flash memory has become corrupted due to power surge or failed update.
- Audio Present, No Video – Sound plays normally but the screen remains black with no on-screen display.
- OSD Menu Freezing – Settings menu opens but freezes or responds with extreme lag to remote commands.
- Channel Scan Failure – Auto-tuning process starts but fails to detect or save any channels.
- Software Update Brick – TV became unresponsive after a failed USB firmware update attempt.
Diagnostic & Repair Protocol
- Visual Board Inspection – Examine CV309H-X board for burnt components, swollen capacitors, cracked solder joints, or damaged traces around the SPI flash area.
- Power Supply Verification – Confirm all voltage rails (5V, 12V, 3.3V) are within ±5% tolerance using a multimeter before attempting firmware flash.
- SPI Chip Integrity Test – Use RT809H to read the 25Q32 chip. Compare checksum with known-good dump. A mismatched or empty read confirms corruption.
- Backup Original Firmware – Always save a complete backup of the existing SPI content before erasing. Store with the TV model and date for reference.
- Erase, Write & Verify Cycle – Perform full chip erase → write firmware dump → verify read-back matches source file byte-for-byte with zero errors.
- Post-Flash Functional Test – After reassembly, verify: power on sequence, logo display, OSD menu access, HDMI input, channel tuning, audio output, and remote response.
- LVDS Cable & Panel Check – If no image after successful flash, inspect LVDS cable connection to LSC460HN05 panel. Reseat connector and check for pin corrosion.
- Thermal Stress Assessment – Monitor processor temperature during first 15 minutes of operation. Excessive heat may indicate underlying hardware failure unrelated to firmware.
Flashing Procedure – RT809H
Power Off & Discharge – Disconnect the TV from mains power completely. Wait a minimum of 30 seconds to allow all capacitors to discharge safely before touching any component.
Locate the SPI Flash IC – Find the 25Q32 SPI memory chip on the CV309H-X board. It is typically located near the main processor. Refer to the SPI location image above.
Connect RT809H Programmer – Attach the SOIC8 test clip directly to the SPI chip. For unreliable reads, desolder the chip and place it on the RT809H adapter for clean contact.
Backup Existing Firmware – Launch the RT809H software, auto-detect the 25Q32 chip, then perform a full read and save the backup file with a descriptive filename.
Write New Firmware – Load the downloaded CV309H-X dump file. Execute Erase → Program → Verify sequence. Ensure the verify step completes with zero errors.
Reassemble & Test – Resolder the SPI chip if removed. Reconnect all cables, power on the TV, and perform full functional testing of all inputs and features.
Video Tutorial
Download Firmware Dump
Click the download button below. A sponsor page will open first — then your download will begin automatically.
File: CV309H-X_CEDLED46MS5_LSC460HN05.bin | Format: Binary | Programmer: RT809H