T.EME380.61 Firmware Dump for HAIER LE22G690CF – Download & Repair Guide
📋 Firmware Overview
A trusted T.EME380.61 firmware dump for the HAIER LE22G690CF is now available to address frequent reinitializing problems and other memory‑related issues. This is a complete copy of the firmware — the software that controls every function of the TV. Firmware dumps can be used for troubleshooting problems with the TV, installing custom firmware, or restoring the TV to its factory default settings.
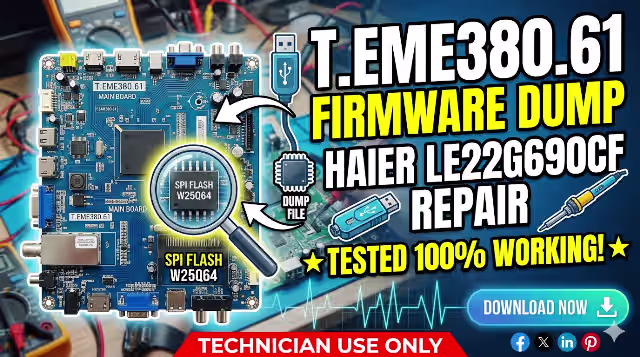
🖥️ T.EME380.61 Main Board
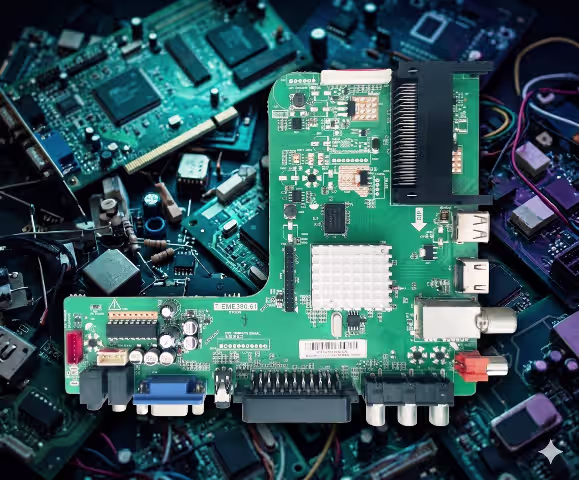
T.EME380.61 Main Board — HAIER LE22G690CF
💾 SPI Flash IC — 25Q64
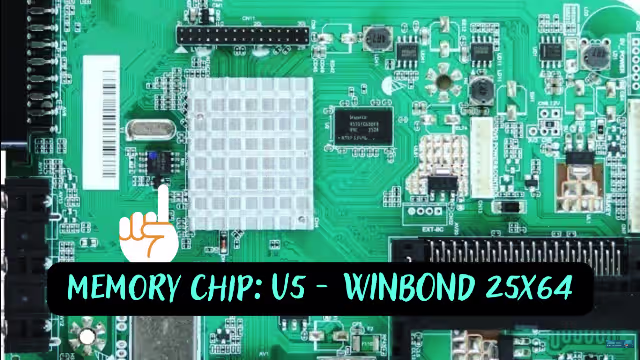
SPI Flash 25Q64 — Memory IC location on T.EME380.61
📦 Firmware Specifications
| TV Model | HAIER LE22G690CF |
|---|---|
| Main Board | T.EME380.61 |
| SPI Flash IC | 25Q64 (8 MB) |
| Flash Type | SPI NOR Flash |
| Dump Size | 8,388,608 bytes (8 MB) |
| File Format | .bin |
| Read Method | Programmer (CH341A / RT809H) |
| Firmware Status | ✅ Tested & 100% Working |
| Date Verified | May 31, 2026 |
⚠️ Known Issues — HAIER LE22G690CF with T.EME380.61 Board
The following common faults have been reported for this model. This firmware dump resolves most memory‑ and software‑related symptoms listed below:
- Continuous Reinitializing Loop — TV restarts to factory setup screen on every power cycle.
- Stuck on Boot Logo — HAIER logo appears but the TV never reaches the home screen.
- Dead Set After Power Surge — Standby LED is on but TV does not start; corrupt firmware in SPI flash.
- No Signal on All Inputs — HDMI, AV, and USB inputs show “No Signal” due to corrupted configuration data.
- Sound Without Picture — Audio works but backlight or panel drive data is missing from firmware.
- Frozen or Hanging Menu — OSD menu freezes or buttons become unresponsive.
- Channel Auto‑Search Failure — Tuner scan does not find any channels despite a good antenna signal.
- Volume & Settings Not Saving — User settings reset after each shutdown due to EEPROM/flash corruption.
- Random Shutdown — TV turns off unexpectedly during use, watchdog timer triggered by firmware errors.
- OSD Language Corrupted — On‑screen text appears garbled or shows the wrong language.
🔍 Diagnostic & Repair Protocol
Step 1 — Visual Inspection
- Disconnect the TV from mains power and remove the rear cover.
- Inspect the T.EME380.61 board for bulging or leaking capacitors, burn marks, and cracked solder joints.
- Check the power supply board for swollen capacitors near the main output connector.
Step 2 — Verify Power Rails
- Measure standby voltage: expected 5V STB at the main board connector.
- After power‑on command, verify 12V and 3.3V rails are present and stable.
- If any rail is missing or fluctuating, repair the power supply before proceeding to firmware.
Step 3 — Read the SPI Flash
- Locate the 25Q64 SPI flash IC on the T.EME380.61 board (see image above).
- Connect your programmer (CH341A or RT809H) via SOP8 clip or desolder the chip.
- Read the existing firmware and save a backup — even if it is corrupted.
- Verify the chip ID is detected correctly: Winbond W25Q64 (or equivalent).
Step 4 — Flash the New Firmware
- Erase the chip completely before writing.
- Load the downloaded .bin file into your programmer software.
- Write the firmware to the 25Q64 flash IC.
- Verify the written data by comparing it with the original file (checksum match).
Step 5 — Reassemble & Test
- Resolder or reconnect the SPI flash chip to the board.
- Reconnect all cables, reattach the rear cover, and power on the TV.
- The TV should complete first‑time initialization — set language, country, and run channel scan.
- Test all inputs (HDMI, AV, USB), confirm OSD menus work, and verify sound output.
🎬 Video Tutorial
Watch the step‑by‑step repair and firmware flashing guide for the T.EME380.61 board:
⬇️ Download T.EME380.61 Firmware Dump
Board: T.EME380.61 | Model: HAIER LE22G690CF | Flash: 25Q64 (8 MB .bin)
Click the button below to download. A verification page will open first, then you will be redirected to the firmware file.
Download Firmware (.bin)File verified: May 31, 2026 — No password — No virus