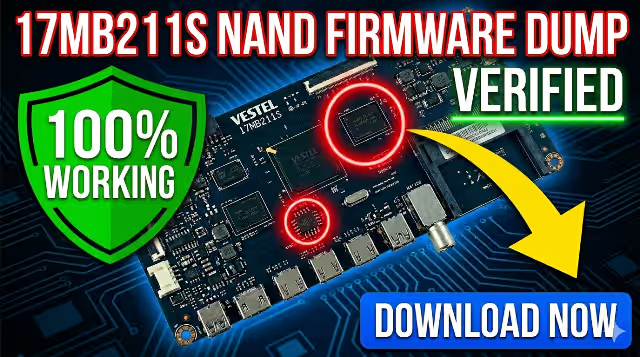
17MB211S Qilive Q32-822 Memory Dump Repair
Complete Firmware Solution for Vestel 17MB211S Mainboard
✓ 100% Tested
✓ Working Firmware
✓ RT809H Compatible
✓ Full Repair Solution
✓ Verified Working Firmware
This firmware dump has been tested and verified to be 100% working for Qilive Q32-822 TV with Vestel 17MB211S mainboard.
This firmware dump has been tested and verified to be 100% working for Qilive Q32-822 TV with Vestel 17MB211S mainboard.
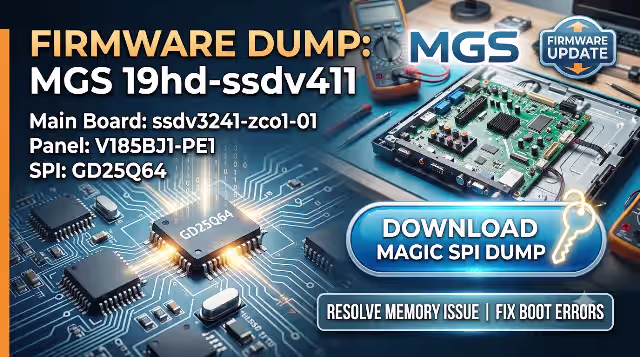
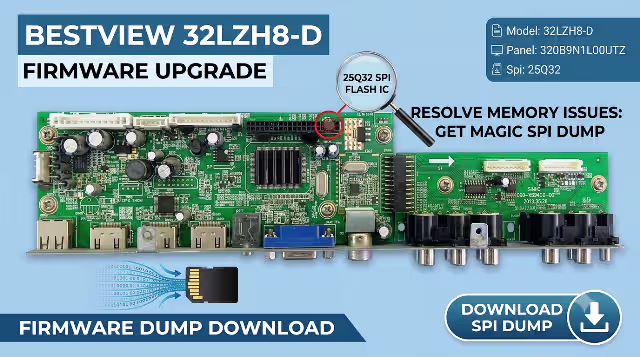
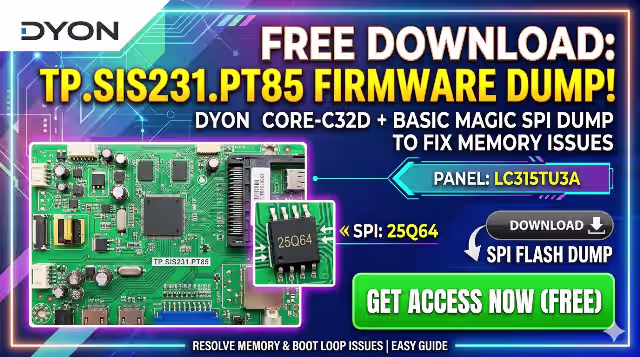
📋 Board & TV Specifications
🖥️ TV Model Information
- TV Brand: Qilive
- Model Number: Q32-822
- Screen Size: 32 inch
- Main Board: 17MB211S
- Manufacturer: Vestel
💾 Memory Chip Details
- SPI Flash: MX25L1606E
- SPI Package: SOP8
- NAND Flash: TC58NVG2S0HTAI0
- NAND Package: TSOP48
- Total Chips: 2 (SPI + NAND)
🔧 Programming Details
- Programmer: RT809H
- Method: In-Circuit/Off-Board
- Dump Type: Full Memory Dump
- Status: ✓ Working
- Tested: 100%
🖼️ Board Images & Identification
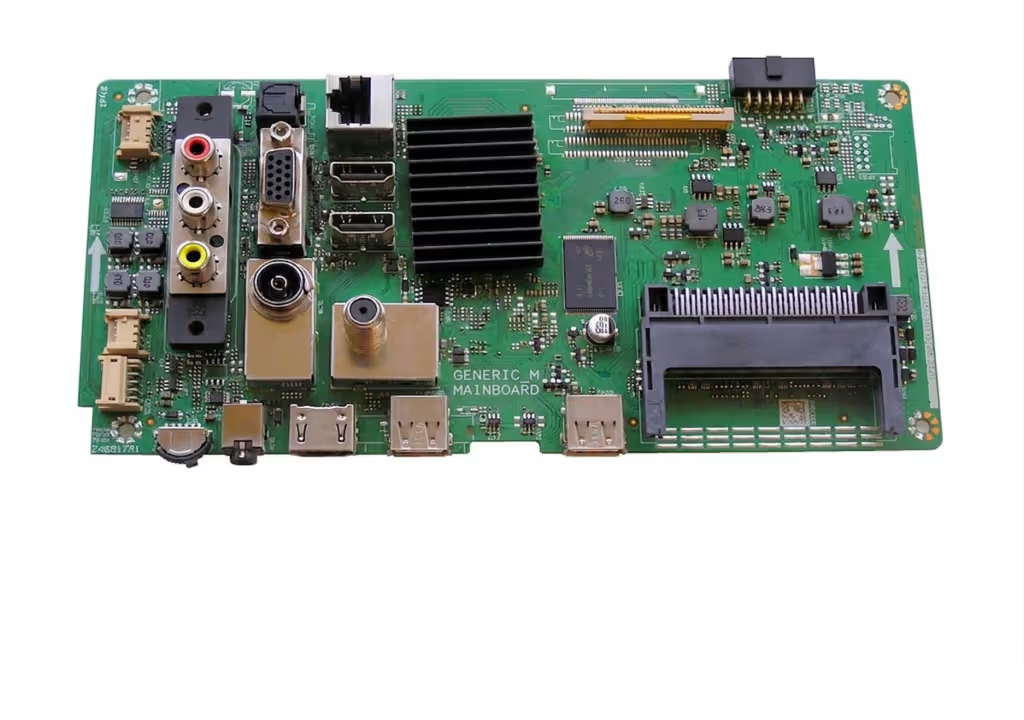
17MB211S Main Board – Vestel Qilive Q32-822
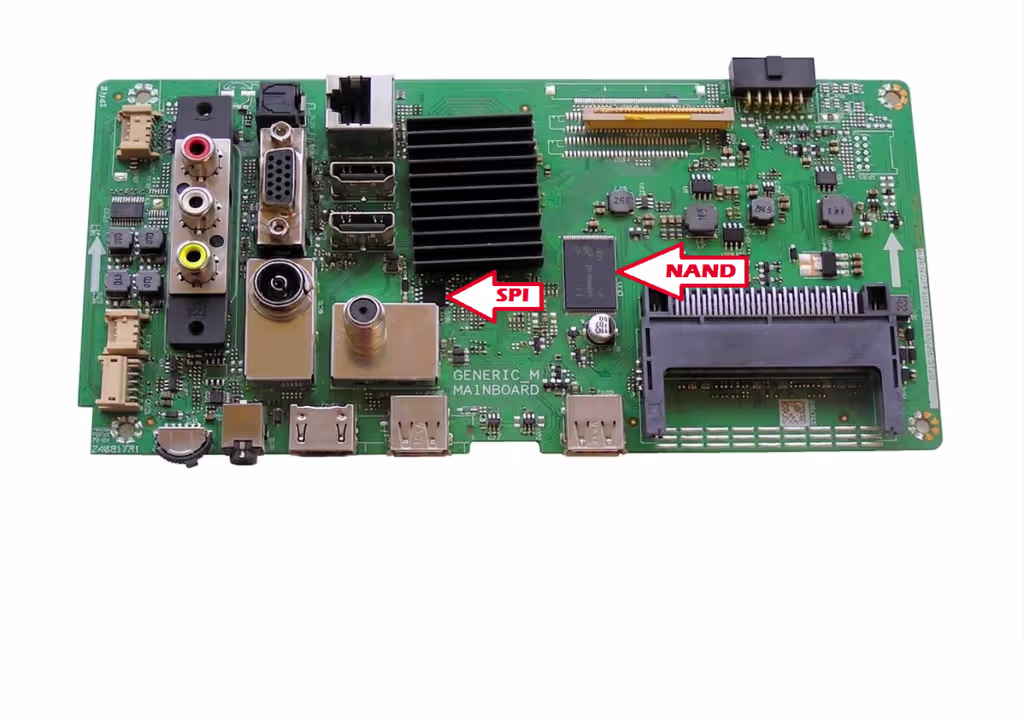
Memory Chips Location – SPI (MX25L1606E) & NAND (TC58NVG2S0HTAI0)
❌ Common Issues Fixed by This Firmware
🔴 Symptoms Resolved:
- Dead TV / No Power On – TV completely unresponsive
- Stuck on Logo – TV shows Qilive logo but doesn’t boot
- No Display / Blank Screen – Backlight works but no picture
- Boot Loop – TV continuously restarts
- No Backlight – Screen remains black even when powered on
- EEPROM Corruption – Settings lost, strange behavior
- Software Failure – After failed firmware update
- Memory Chip Failure – SPI or NAND flash corrupted
- No Signal Detection – HDMI/AV inputs not working
- Settings Not Saving – Configuration resets on power cycle
ℹ️ Important Note:
Before programming, ensure your TV has the same mainboard model (17MB211S) and memory chips. Always backup your original firmware if possible.
Before programming, ensure your TV has the same mainboard model (17MB211S) and memory chips. Always backup your original firmware if possible.
📊 Memory Chip Specifications
| Component | Part Number | Package Type | Capacity | Function |
|---|---|---|---|---|
| SPI Flash | MX25L1606E | SOP8 | 16 Mbit (2MB) | Boot Code & Settings |
| NAND Flash | TC58NVG2S0HTAI0 | TSOP48 | 2 Gbit (256MB) | Main Firmware & OS |
🎥 Video Tutorial – Programming Guide
⚠️ Safety Warning:
• Always disconnect power before working on the TV board
• Use proper ESD protection
• Verify chip identification before programming
• Double-check programmer connections
• Use the correct voltage settings (usually 3.3V)
• Always disconnect power before working on the TV board
• Use proper ESD protection
• Verify chip identification before programming
• Double-check programmer connections
• Use the correct voltage settings (usually 3.3V)
⬇️ Download Firmware Dump
Get Your Firmware Files – 2 Step Process
1
2
Step 1: Unlock Download Access
Click the button below to verify your request and unlock the download link
📌 Why this step? This quick verification helps us keep downloads free and maintain our servers. It takes only 5-10 seconds.
✓ Safe & Secure
✓ No Registration Required
✓ Direct Download Link
✓ No Registration Required
✓ Direct Download Link
📦 What’s Included in the Download:
✓ MX25L1606E SPI Flash dump (2MB) – Boot loader & configuration
✓ TC58NVG2S0HTAI0 NAND Flash dump (256MB) – Main firmware
✓ Step-by-step programming instructions (PDF)
✓ Memory chip pinout diagrams
✓ RT809H programmer setup guide
✓ Troubleshooting tips & common issues
✓ MX25L1606E SPI Flash dump (2MB) – Boot loader & configuration
✓ TC58NVG2S0HTAI0 NAND Flash dump (256MB) – Main firmware
✓ Step-by-step programming instructions (PDF)
✓ Memory chip pinout diagrams
✓ RT809H programmer setup guide
✓ Troubleshooting tips & common issues
🛠️ Programming Instructions
📝 Before You Start
- ✓ RT809H programmer ready
- ✓ Latest RT809H software installed
- ✓ TV unplugged from power
- ✓ Clean workspace with good lighting
- ✓ Proper adapter for TSOP48
- ✓ Anti-static wrist strap
⚡ Programming Steps
- 1️⃣ Identify memory chips on board
- 2️⃣ Remove chips or use in-circuit
- 3️⃣ Connect to RT809H programmer
- 4️⃣ Read original dump (backup)
- 5️⃣ Write new firmware dump
- 6️⃣ Verify written data
- 7️⃣ Reinstall chips properly
- 8️⃣ Test TV functionality
✅ After Programming
- ✓ Check all solder joints
- ✓ Clean flux residue
- ✓ Inspect for bridges/shorts
- ✓ Reconnect all cables
- ✓ Power on and test
- ✓ Configure initial settings
🔗 Share This Solution
💡 Pro Tips for Success
🎯 Best Practices
- Always backup original firmware first
- Use quality programmer (RT809H recommended)
- Verify chip IDs before writing
- Keep original chips as backup
- Test on bench before final assembly
⚠️ Common Mistakes to Avoid
- Wrong chip selection in programmer
- Incorrect voltage settings
- Not verifying after write
- Poor solder connections
- Rushing the process
🔍 Troubleshooting
- If TV won’t boot: Re-verify chip write
- If no display: Check panel connections
- If stuck on logo: Try power cycle
- If programmer fails: Check connections
- Still issues? Try reading back data
📞 Need Help?
If you encounter any issues during the programming process or have questions about this firmware dump, feel free to leave a comment below or contact our support team. We’re here to help you successfully repair your TV!
If you encounter any issues during the programming process or have questions about this firmware dump, feel free to leave a comment below or contact our support team. We’re here to help you successfully repair your TV!
🔍 Related Firmware & Repairs
Looking for firmware for other Vestel mainboards or similar TV models? Check out these related posts: